How to install from Windows

Disclaimer
This guide and software presented here are provided "as is", without warranty of any kind. We're not responsible for any damage caused to your devices by following the steps below.
Prerequisites
You need a copy of the Windows on Raspberry imager and the things required by it.
It is recommended to temporarily turn off any anti-virus software, so that it doesn't interfere with the installation process.
Getting the Windows image
See the Getting Windows images guide.
Installing the image
- Connect the drive that you wish to use for the installation.
- Extract the
WoR_Release_....ziparchive and run theWoR.exeapplication. - Choose your language, if it didn't get automatically detected.
- Carefully select the target drive and your Raspberry Pi board model.
If you have a Raspberry Pi 4, you'll want to have the bootloader updated to the latest version. - Select the previously downloaded ISO image and the edition.
- Use the latest package available on the server for both the drivers and UEFI.
- Leave the Configuration settings to their default values.
Change them only if you know what you're doing! - Double-check the things that you've selected (especially the storage drive!).
- Click on Install and wait for the process to finish.
This process can take a long time, depending on the speed of the target drive.
If you want to speed up the process, you can try using a FFU image: Generating FFU images. - Unplug the drive, connect the peripherals to your Raspberry Pi and boot it up.
- If you're using a Raspberry Pi 4, the amount of RAM will be limited to 3 GB by default. To disable this limit:
- keep pressing the ESC key after plugging in the power cord, until you see the UEFI setup screen.
- go to
Device Manager->Raspberry Pi Configuration->Advanced Configurationand changeLimit RAM to 3 GBtoDisabled. - press ESC several times to go back, then Y to save the settings when prompted and finally reboot the board.
- Wait for the initial boot process to finish, then do the first-time setup.
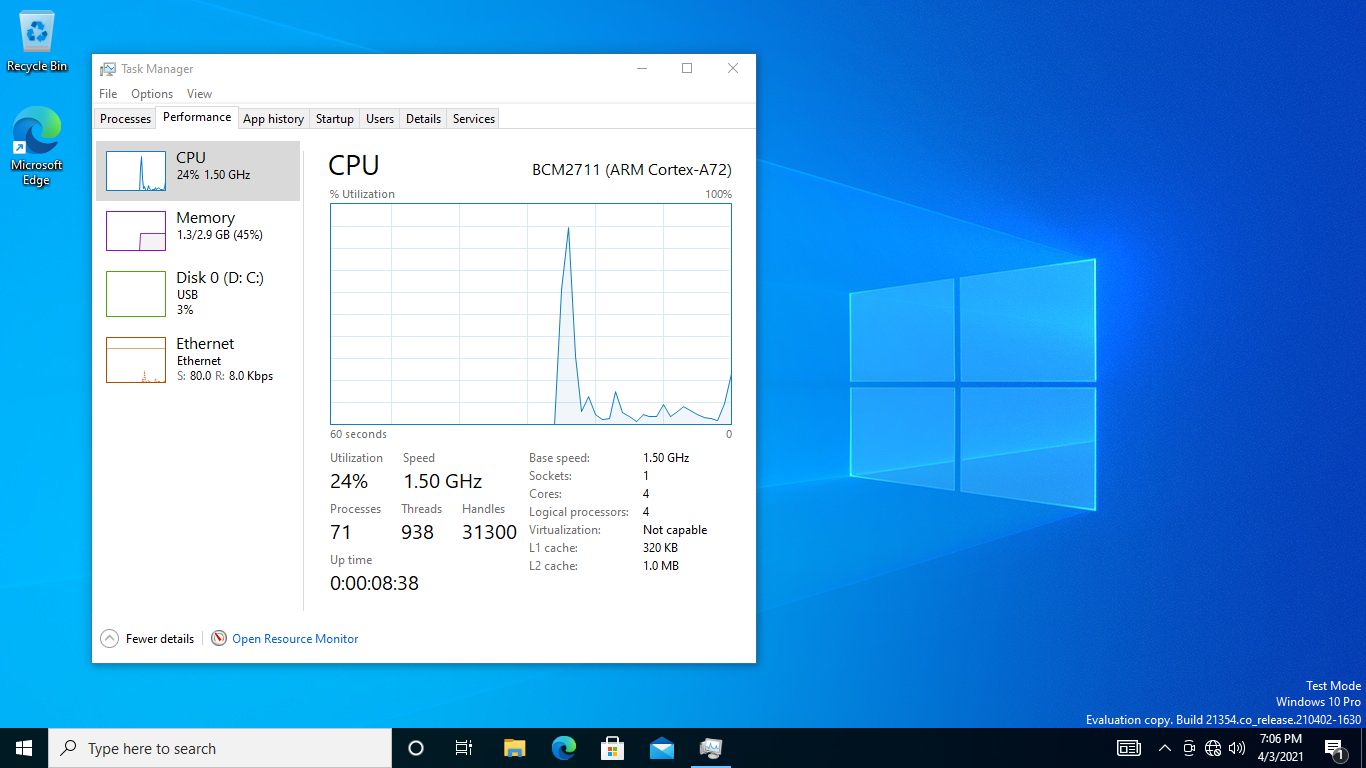
The first boot can take a long time, especially if the boot drive is slow. If it takes more than an hour, something may have went wrong. - (Hopefully) enjoy Windows 10 on your Raspberry Pi.
If you have questions or issues
You can find answers to common questions / issues on our FAQ page.
If you can't find what you're looking for in the FAQ, you can use the Contact form, or even better, join the Discord / Telegram servers linked on our Community page.
